Key Takeaways
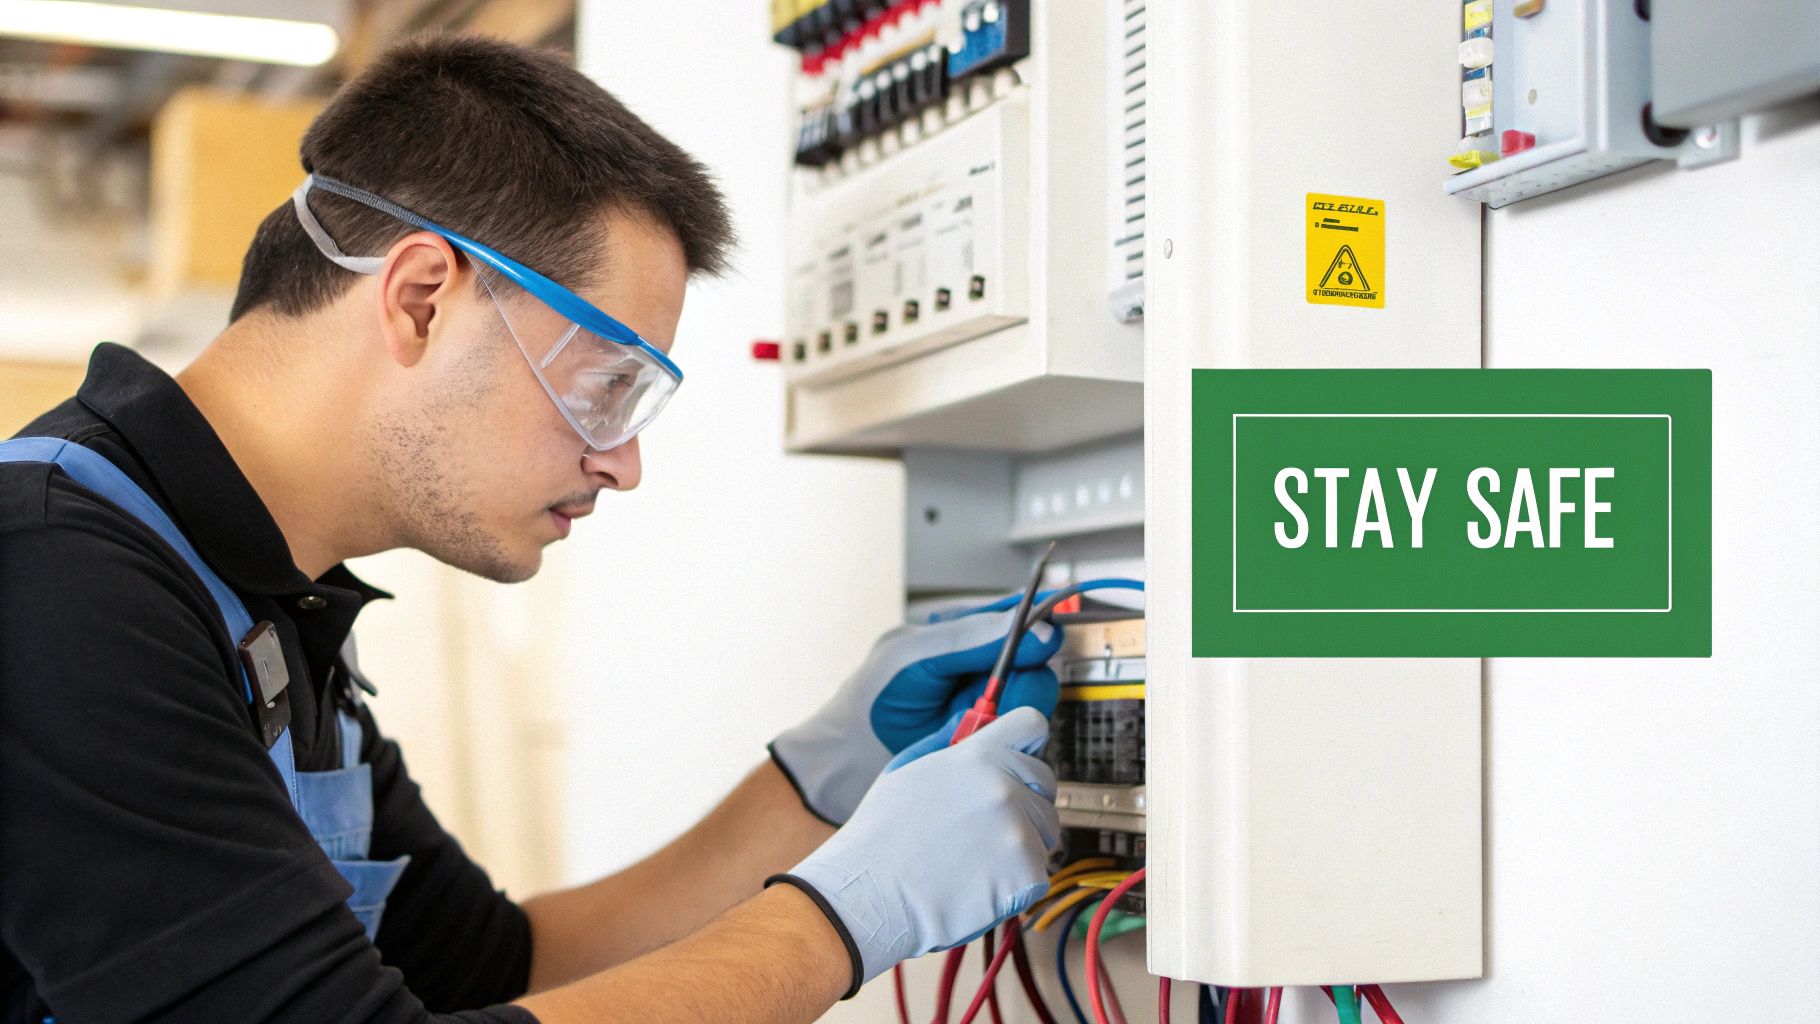
- Safety is Non-Negotiable: Upgrading an electrical panel is a dangerous job that requires a licensed professional. Due to the risk of electrocution and fire, this is never a DIY project.
- Assess Your Real Needs: Modern homes often require a 200-amp panel to safely power everything from EVs to new kitchen appliances. A proper load calculation is essential.
- Permits are Mandatory: A permit ensures the work is done to code, protecting your home, your insurance coverage, and your family’s safety. Your electrician should handle this.
- Plan for Downtime: Expect your home’s power to be out for 4-8 hours during the installation. Plan ahead by charging devices and making arrangements for refrigerated items.
Right off the bat, let’s get a few things straight. Upgrading your electrical panel isn’t a weekend DIY project—it’s a serious job with very real risks. You’ll also need to figure out exactly what your home needs, pull the right permits, and be ready for the power to be out for several hours.
As an electrician, I’ve seen it all, and my goal here is to give you a straightforward look at what a panel upgrade really involves. We’ll cut through the jargon and lay out the process so you know exactly what to expect.
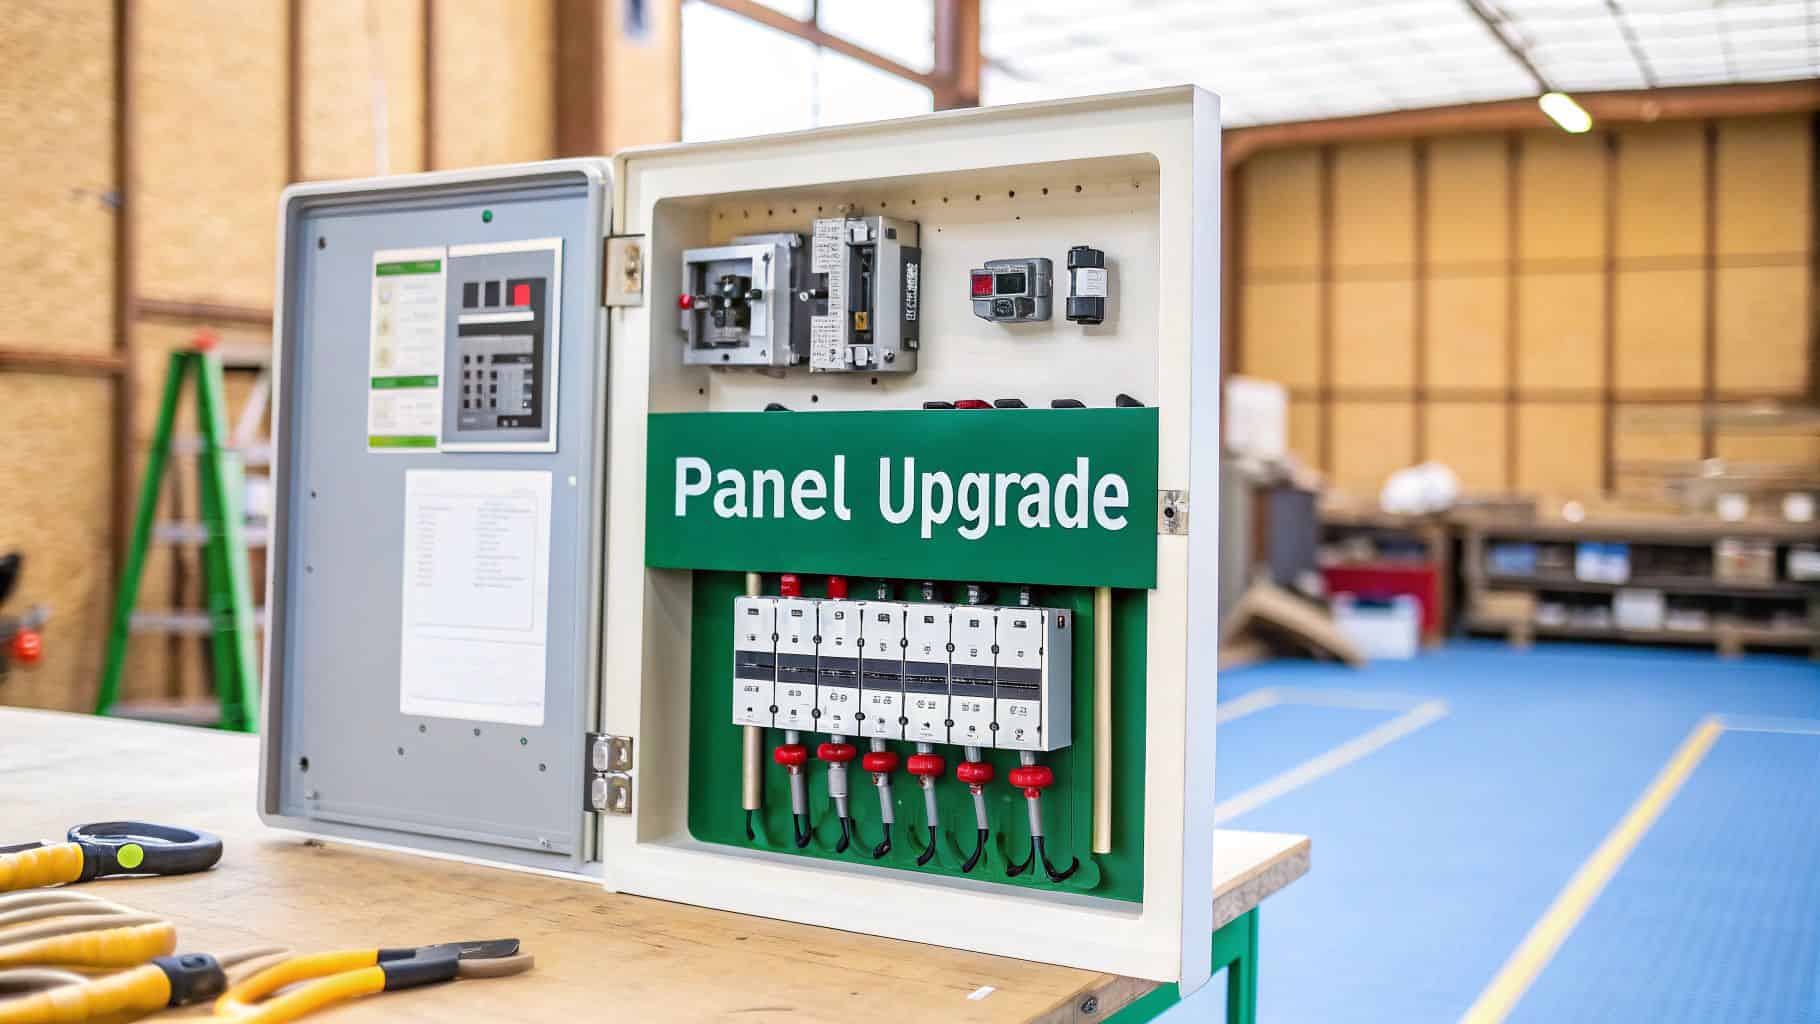
Your Guide to a Safe Electrical Panel Upgrade
Making the decision to upgrade your electrical panel is one of the smartest moves you can make for your home’s safety and future. Think about it: our lives are filled with power-hungry devices, from kitchen gadgets and home offices to the EV charger in the garage. That old 100-amp panel that was fine 30 years ago just can’t keep up.
This isn’t just about convenience or adding more outlets. It’s about building a solid electrical backbone for your home. A proper upgrade stops overloaded circuits in their tracks, which means an end to flickering lights, constantly tripped breakers, and, most importantly, a drastically reduced risk of electrical fire. If you’re even thinking about adding a hot tub, a heat pump, or an EV charger, this upgrade is non-negotiable.
Why an Upgrade is a Smart Investment
I like to tell homeowners to think of their electrical panel as the heart of their home. If that heart is old and struggling, the whole system is at risk. A new, modern panel, on the other hand, can easily pump all the power you need, wherever you need it. You’re not just fixing a current problem; you’re investing in your home’s long-term health, safety, and value.
The industry data backs this up. The market for circuit breaker panels was valued at around $4.5 billion in 2024 and is expected to hit nearly $7.6 billion by 2033. This isn’t just a niche trend; it’s a nationwide move toward safer, more capable home electrical systems. You can read more about these market trends for circuit breaker panels to see how the industry is shifting.
A while back, I worked with a family in Snohomish County who were at their wits’ end. They were constantly shuffling which appliances they could run at the same time to avoid tripping a breaker. After we installed a new 200-amp panel, they could finally run their workshop tools while charging their new EV, all without a single issue. It was a complete game-changer for them.
Before we dive deeper, it’s helpful to have a clear picture of the core components of this project.
Key Takeaways for Your Panel Upgrade
Here are the most critical points to understand before you begin planning your electrical panel upgrade.
| Critical Point | Why It’s Essential | Expert Tip |
|---|---|---|
| Safety First | Working with live electricity is extremely dangerous. Shock and fire hazards are significant. | This is a job for a licensed professional. Never attempt to replace a panel yourself. The risks far outweigh any potential savings. |
| Assess Your Needs | A 100-amp panel may be insufficient. Modern homes often require 200 amps to power everything safely. | List your major appliances and any future additions (EV, hot tub, etc.). This helps the electrician accurately size your new panel. |
| Permits Are Mandatory | A permit ensures the work is done to code, which is vital for your safety and home insurance. | Your electrician should handle the permitting process. Ask to see the permit before work begins to ensure everything is above board. |
| Plan for Downtime | The main power to your home must be shut off for the duration of the installation, usually for 4-8 hours. | Plan ahead. Charge your devices, make arrangements for refrigerated items, and schedule the work for a time when the outage will be least disruptive. |
Understanding these key aspects ensures you’re well-prepared for a smooth and successful upgrade.
Key Benefits of a Modern Panel
A new panel does more than just let you plug in more stuff. It brings some very real, tangible improvements to your home.
- Enhanced Safety: Modern panels have far superior circuit breakers. They react faster and more reliably to overloads and short circuits than outdated fuse boxes or worn-out breakers.
- Increased Home Value: When you go to sell, a new, code-compliant electrical system is a huge plus for buyers. It signals that your home has been well-maintained and is ready for the future.
- Future-Ready: Installing a 200-amp service gives you plenty of electrical headroom. You’ll be set for that kitchen remodel, a new HVAC system, or even a second EV down the road without having to go through another expensive upgrade.
Figuring Out Your Home’s Real Electrical Needs
Before you even start shopping for a new electrical panel, we need to get a real-world picture of your home’s power consumption. I’ve seen it time and again: homeowners underestimate their needs and end up with a panel that’s already maxed out. An upgrade is your chance to do this right and set your home up for the future.
This isn’t just about counting outlets. It’s a full-on audit of your current lifestyle and where you see your home in the next ten years. Nailing this assessment from the start saves you from a world of headaches and ensures your money is well spent.
Recognizing the Telltale Signs of an Overloaded Panel
Your electrical system usually gives you some pretty clear warnings when it’s struggling. These aren’t just little quirks; they’re symptoms of a system under serious strain. Ignoring them is a gamble you don’t want to take with your family’s safety.
Does any of this sound familiar?
- Frequent Breaker Trips: If running the microwave and the toaster at the same time always ends with a trip to the basement, that’s a classic sign of an overloaded circuit. It often points to an undersized service for the whole house.
- Flickering or Dimming Lights: See the lights dim whenever the AC kicks on? That means a big appliance is drawing so much power it’s basically starving everything else.
- A Warm Panel or Burning Odor: This is a big one. A panel that’s warm to the touch or gives off a faint, sharp burning smell is a serious red flag. It could mean loose connections or overloaded wires—both are major fire hazards. If this is happening, shut off the main breaker and call an electrician right away.
- A Buzzing or Crackling Sound: Your panel should be silent. Any buzzing, humming, or crackling noises from inside that box mean it’s time for immediate professional help.
These problems won’t fix themselves. They are your home’s way of telling you the panel just can’t keep up with demand.
Calculating Your True Electrical Load
To figure out what size panel you actually need, we have to look beyond today and think about tomorrow. A proper load calculation is the only way to do this accurately. While you’ll need a licensed electrician for the official numbers, you can get a pretty solid estimate on your own.
Start by making a list of your home’s major power hogs. Think of it as creating a power budget.
Major Appliance Checklist
- HVAC System (Central Air and Heat)
- Electric Water Heater
- Electric Stove or Cooktop
- Electric Dryer
- Well Pump or Sump Pump
- Hot Tub or Spa
- Swimming Pool Pump
- Workshop Power Tools (like welders or table saws)
Now, think about the future. This is where people usually get it wrong. Are any of these high-draw upgrades on your radar?
- Electric Vehicle (EV) Charger: A Level 2 charger can easily add 30-40 amps to your load all by itself.
- Kitchen Remodel: Thinking about new gadgets like an induction cooktop or a double oven? They pull a ton of power.
- Home Addition: More square footage means more lights, more outlets, and a bigger demand on your system.
An undersized panel is like trying to water a giant garden with a drinking straw—it just can’t deliver what’s needed. Choosing the right size ensures every part of your home gets the stable, reliable power it requires to function safely and efficiently.
This isn’t just a local trend. The global market for electrical panels was valued at around USD 3.12 billion in 2024 and is projected to hit USD 3.86 billion by 2031. That growth is fueled by our increasing electricity demand and the move to more modern electrical systems. You can explore detailed insights on the electrical panels market to see how the industry is shifting.
Choosing the Right Panel Size
Once you have a clear picture of your current and future load, picking the right panel size becomes much easier. For businesses, it’s also critical to understand the financial hit from having insufficient power; you can evaluate potential expenses with our downtime cost calculator to see the real-world impact.
For homeowners, here’s a quick rundown of the common options:
- 100-Amp Service: This used to be the standard, but now it’s the absolute minimum for a small home, especially one with gas appliances. It leaves very little room for future upgrades like an EV charger.
- 150-Amp Service: A decent middle-of-the-road choice for medium-sized homes. It works well if you don’t have a lot of all-electric appliances and aren’t planning major additions.
- 200-Amp Service: This is the new standard for a reason. It gives you plenty of juice for an all-electric home, EV chargers, hot tubs, and future renovations, making it a smart, long-term investment.
For most people, investing in a 200-amp panel is the best way to future-proof their home. It gives you the capacity you need today and the peace of mind you’ll want tomorrow.
Handling Permits and Critical Preparations
Before you even think about touching a wire, there’s some crucial groundwork to lay for an electrical panel upgrade. This part of the process is all about planning and getting the proper permissions. Frankly, it’s not the exciting part, but it’s what ensures the entire project is safe, legal, and won’t cause you headaches with your insurance down the road.
An electrical panel swap is a major project, and your local municipality definitely sees it that way. Because of the serious risks involved, pretty much every jurisdiction requires you to pull an electrical permit. I’ve seen people try to sidestep this to save a bit of money, and it’s always a massive mistake. Without that permit, there’s no official record of the work, which can lead to huge problems if you ever need to file an insurance claim or sell your home.
I once worked with a client who bought a house with an unpermitted panel swap done by the previous owner. A few months in, a large appliance fried a circuit and almost started a fire. Their insurance company wouldn’t cover a dime of the damage because the work wasn’t inspected or up to code. Getting the permit is your number one safeguard.
Getting the Electrical Permit
The permit process can seem like a bureaucratic maze, but this is where hiring a licensed electrician really pays off—they should handle most of it for you. They’ve been through it dozens of times and know exactly what the local building department is looking for.
To get the ball rolling, they’ll need some specific details about the job. You should be ready to provide:
- Project Scope: A simple description of the work, like “Replace the old 100-amp main panel with a new 200-amp one.”
- Property Details: Your address, parcel number, and your name as the homeowner.
- Contractor Information: Your electrician’s license number and contact info are non-negotiable.
- Load Calculation: This is the important one. It’s a detailed breakdown of your home’s total electrical needs, which proves the new panel is the right size for everything you want to run.
This paperwork shows the city or county that a qualified pro has planned the project correctly, which is the first step toward a safe installation.
Calling the Utility Company
Here’s a step you cannot mess around with: scheduling a power disconnection with your utility company. Even if you shut off the main breaker in your house, those heavy service cables feeding into the panel are always live with enough voltage to be lethal.
Your electrician will schedule what’s called a “disconnect/reconnect” appointment. A technician from the utility will show up, physically pull the electric meter from its socket, and cut off all power from the street. Only after that happens is it safe to even begin the panel swap. Once the new panel is in and passes inspection, they’ll come back to reinstall the meter and get your lights back on.
The Right Tools and Materials for the Job
While this is a pro-level job, it’s good to recognize what a proper setup includes. Any good electrician will show up with a full arsenal of specific tools and materials, making sure the project runs smoothly and doesn’t hit any snags.
Essential Installation Gear
| Category | Key Items | Purpose |
|---|---|---|
| Safety Equipment | Insulated gloves, safety glasses, voltage tester | The first priority is protection. The voltage tester is used to triple-check that the power is truly off before work begins. |
| Hand Tools | Wire strippers, torque screwdriver, lineman’s pliers, screwdrivers | Used for cutting, stripping, and—most importantly—tightening connections to precise, code-required specifications. |
| Power Tools | Cordless drill, oscillating multi-tool | Helps mount the new panel box securely and can be a lifesaver for making small, clean cuts in drywall if the opening needs adjusting. |
Having all this stuff ready to go from the get-go is what separates a professional from an amateur. It prevents delays and ensures every single connection is solid, giving you a safe and reliable electrical system that will serve your home for decades to come.
The Installation: A Step-by-Step Breakdown
Alright, you’ve got your permits and the utility company is scheduled. Now comes the part where the real work begins. Getting this right is all about following a clear process and, above all, staying safe. A successful panel upgrade isn’t just about swapping a box; it’s a precise operation, and every step builds on the last.
First things first: even after the utility company cuts the power at your meter, you must confirm the panel is dead. No exceptions. I always use my most trusted voltage tester on the main lugs—those big terminals where the power lines from the street connect. If that tester doesn’t read zero, you don’t touch anything. This is the single most important safety check of the entire job.
Once you’re 100% sure it’s safe, the real teardown can start. But don’t just go pulling wires. You need a map.
Label Everything Before You Disconnect
Before a single wire comes off its old breaker, you have to label it. This is non-negotiable. I use a simple roll of numbered tape or a label maker to tag each wire with what it controls: “Kitchen Outlets,” “Master Bath GFCIs,” “Furnace,” and so on.
Think of it as creating a roadmap for the new panel. Skip this, and you’ll be faced with a chaotic mess of wires, turning a straightforward job into a frustrating, time-sucking puzzle. Proper labeling ensures every circuit lands exactly where it should in the new panel.
A quick story from the field: I was once called to fix a disaster left by an unlicensed “electrician.” He’d yanked every wire out of the old panel without a single label. The homeowner was left with a bird’s nest of live wires and no idea what went where. It took my team a full day just to trace and identify each circuit, adding significant cost and stress to what should have been a standard upgrade.
This image lays out the basic flow, starting with getting your gear in order.
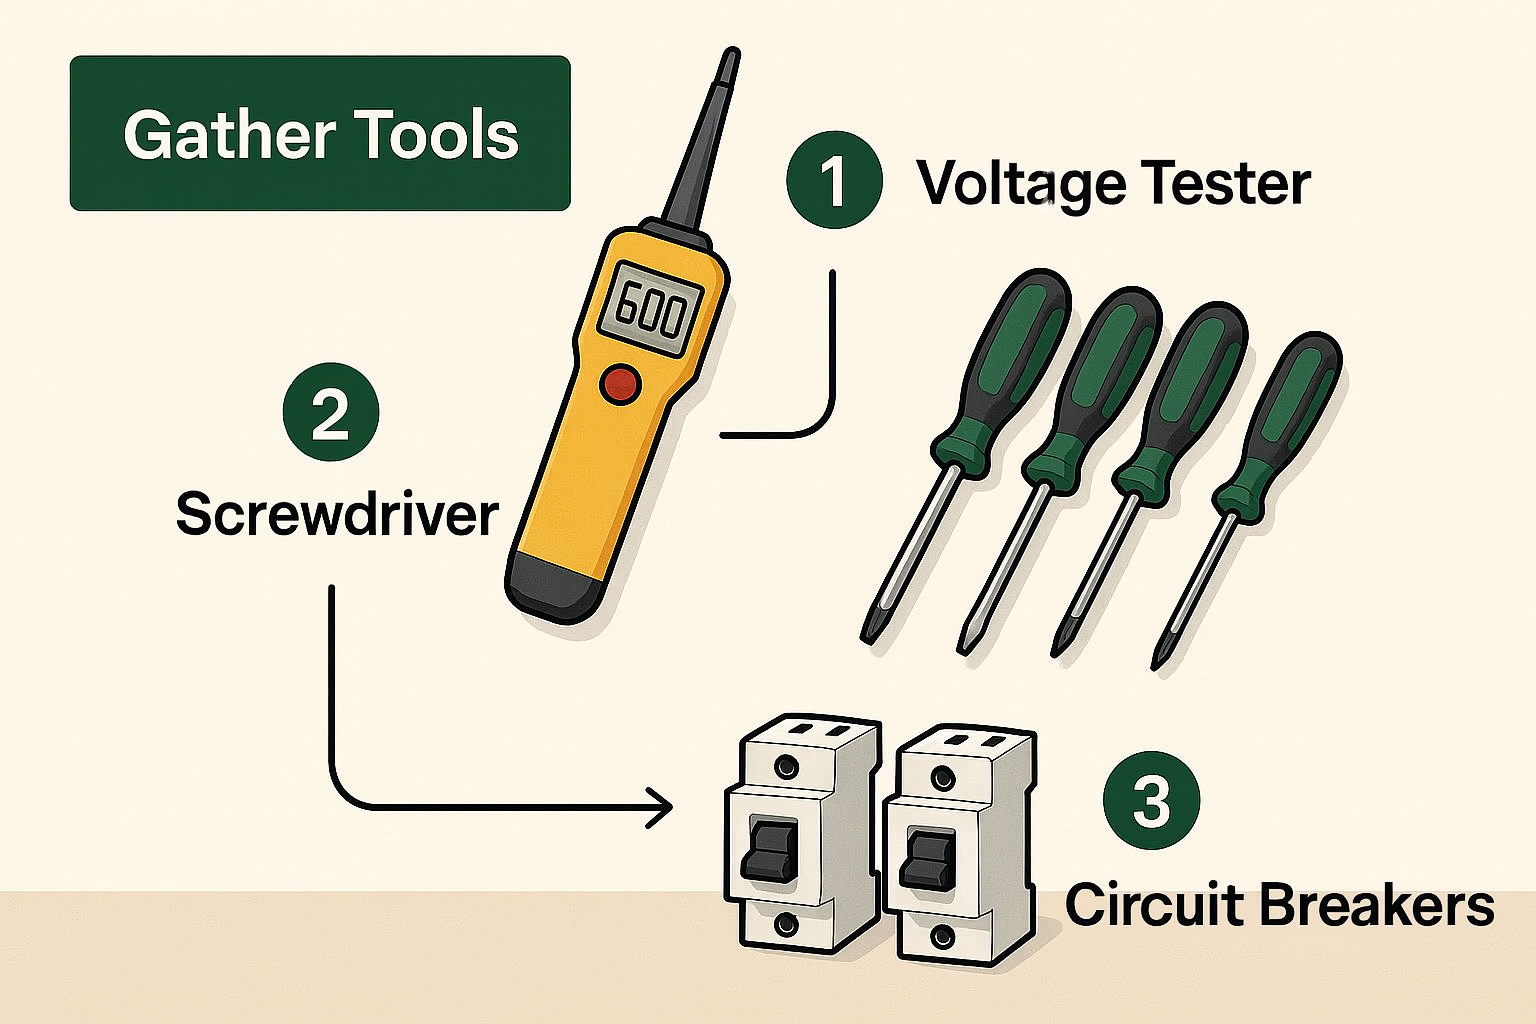
Having your tools laid out isn’t just about looking professional. It’s about working safely and efficiently. A messy workspace leads to mistakes.
Before touching a single wire, it’s crucial to follow a strict safety protocol. I’ve seen too many close calls that could have been avoided with a simple checklist.
Panel Upgrade Safety Checklist
Follow these critical safety measures before and during the installation to prevent serious injury or property damage.
| Safety Action | How to Verify | Risk if Skipped |
|---|---|---|
| Confirm Main Power is Off | Use a reliable voltage tester (multimeter) on the main lugs. It must read 0 volts. | Severe shock or electrocution. This is the most dangerous step if ignored. |
| Wear Insulated Gloves/PPE | Check gloves for holes. Wear safety glasses to protect from sparks or debris. | Hand burns from accidental contact; eye injury from arc flash or flying debris. |
| Secure the Work Area | Use cones or tape. Inform everyone in the building not to enter the area or attempt to turn on power. | Accidental contact with live parts by others; someone could inadvertently restore power. |
| Use Insulated Tools | Screwdrivers and pliers should have a 1000V insulation rating clearly marked. | A non-insulated tool can conduct electricity, causing a direct shock. |
Taking a few minutes to run through this checklist can be the difference between a smooth project and a trip to the emergency room.
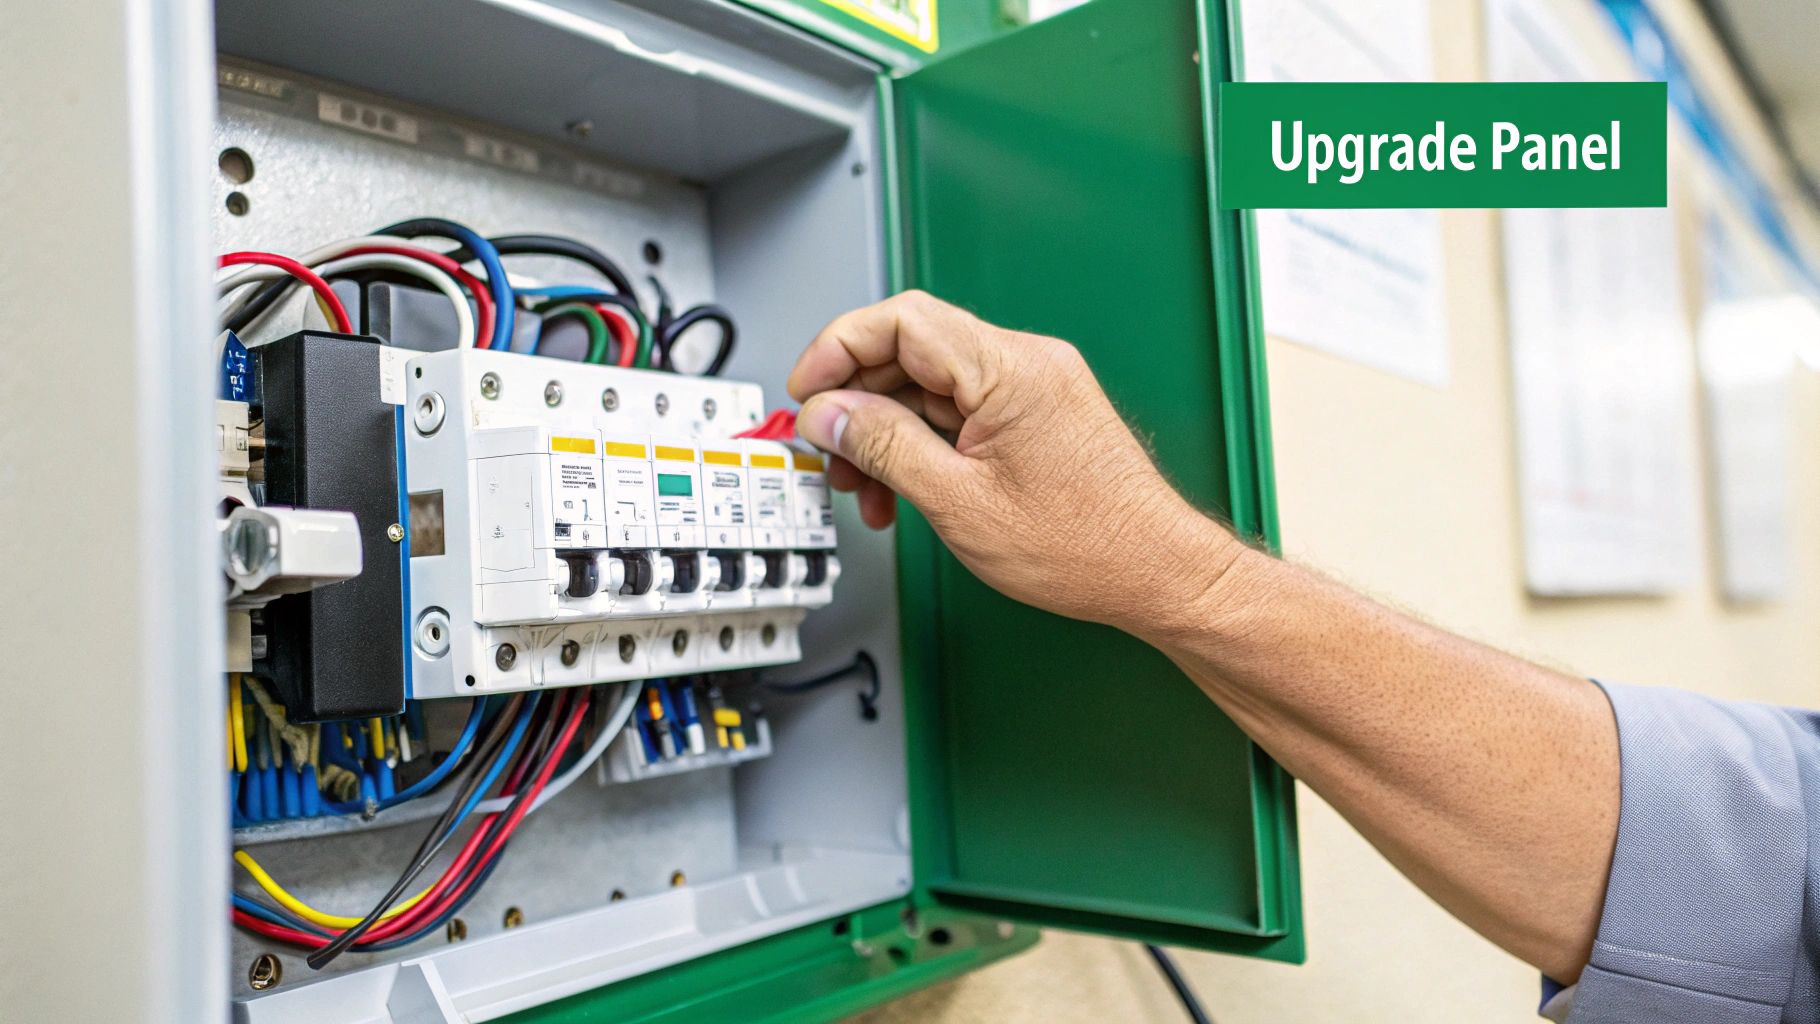
Out with the Old, In with the New
With every wire clearly labeled, you can start removing the old breakers and carefully pulling the circuit wires out of the panel box. The thick service cables are unbolted from the main lugs, and the grounding wires are disconnected.
Now you can physically remove the old panel box from the wall. If it’s surface-mounted, it’s just a few screws. If it’s recessed into the wall, you might need to carefully cut away some drywall to free it.
The new, larger panel is then mounted securely in its place. I can’t stress this enough: it must be level and firmly anchored to the wall studs. A wobbly panel is a code violation and a major hazard waiting to happen.
Wiring the Core Connections
With the new box firmly in place, it’s time to connect the heart of the system. This is where precision really counts.
- Service Entrance Wires: First, we connect the heavy-gauge wires coming from the meter. These are stripped and landed in the new panel’s main lugs. A torque screwdriver is your best friend here. The manufacturer gives you an exact torque spec (in inch-pounds), and you have to hit it. Too loose, and you risk a fire from arcing; too tight, and you can damage the equipment.
- Grounding System: Next, you need a solid ground. Modern codes often mean installing a new grounding system. This usually involves driving one or two long copper rods into the earth outside and running a thick copper wire to the panel. This is your system’s most important safety feature, giving dangerous fault currents a safe path away from you and your home.
- Neutral and Ground Bars: Finally, the white (neutral) and bare copper/green (ground) wires from all your circuits are connected to their designated bus bars inside the panel. Every connection must be clean, tight, and organized.
Placing Circuits on New Breakers
Now we bring it all home. Using your labels, you connect each black or red “hot” wire to its new circuit breaker. The breakers then snap firmly onto the panel’s main bus bars.
Pay close attention to the type of breaker you’re using. Many modern codes require Arc-Fault Circuit Interrupter (AFCI) breakers for living areas and bedrooms to provide superior fire protection.
Each wire needs to be cut to the perfect length—no extra slack to create a tangled mess, but not so short that it puts stress on the connection. The wire is stripped just enough, inserted fully into the breaker’s terminal, and tightened to the manufacturer’s specified torque.
This process transforms that initial jumble of wires into a clean, organized, and safe power hub. The principles are the same for bigger jobs, but the scale is much larger. For businesses with heavy machinery and three-phase power, specialized knowledge is essential. You can learn more about our commercial electrical services to see how we handle these complex systems.
The end goal is a neat, professional installation where every wire is routed cleanly and every connection is rock-solid. That’s what separates a safe, lasting upgrade from a dangerous shortcut.
Completing the Upgrade and Passing Inspection
You’ve got the new panel mounted and the main connections are in place, but you’re not out of the woods yet. The final stretch is all about precision and getting ready for that crucial final inspection. This is where a true professional job stands apart, turning a web of wires into a safe, organized, and reliable system.
These last few tasks are what make an upgrade last. They ensure everything works safely for the long haul and that anyone can understand the setup down the road. It’s the difference between just swapping a box and finishing a true professional-grade project.
Organizing the Wiring and Installing the Cover
A tidy panel is a safe panel. Before anything gets closed up, a good electrician takes the time to route every single wire cleanly. This isn’t just for looks—neat wiring prevents sharp bends and strain on the connections, which can lead to dangerous overheating. Each wire is carefully guided along the panel’s edges, leaving the center clear and accessible.
Once the wiring is squared away, the dead front cover goes on. This is the metal shield that separates you from the live bus bars whenever you open the panel door. It’s a non-negotiable safety feature that must fit perfectly, without any gaps, and be secured with the correct manufacturer-supplied screws.
Labeling Every Circuit for Clarity
With the cover on, the last hands-on step is creating a new, accurate circuit directory. This is where those labels you made before disconnecting the old panel become invaluable. Each breaker’s purpose is clearly written on the new directory sticker, which usually goes on the inside of the panel door.
This level of detail is a lifesaver for future troubleshooting. A properly labeled panel should have specific descriptions, such as:
- “Kitchen Counter Outlets (East Wall)”
- “Master Bedroom & Hall Lights”
- “Furnace / Air Handler”
- “EV Charger – Garage”
Vague labels like “Plugs” or “Room 2” are a hallmark of amateur work and cause huge headaches later.
A detailed and accurate panel schedule isn’t just a best practice; it’s a mark of quality. When an inspector or another electrician opens that panel years from now, they should be able to understand the entire system at a glance without having to guess.
The demand for these kinds of thorough upgrades is growing. The global distribution panel market was valued at USD 7.6 billion in 2024 and is expected to climb to USD 12.7 billion by 2034. This spike is driven by home modernization and the need for smart energy management. You can discover more insights about the distribution panel market on gminsights.com.
Prepping for the Final Inspection
Before picking up the phone to call the inspector, a seasoned electrician does their own final check. This means looking at the job through an inspector’s critical eye to catch any potential issues. This pre-inspection sweep makes sure everything is fully compliant with the National Electrical Code (NEC) and any local amendments.
Pre-Inspection Checklist
| Item to Check | What the Inspector Looks For |
| :— | :— | :— |
| Grounding System | A properly installed grounding electrode (like a ground rod) with a secure, unbroken connection back to the panel. |
| Breaker Sizing | Correct breaker amperage for the wire gauge on each circuit (e.g., a 15-amp breaker for 14-gauge wire). |
| Torque and Connections | All terminal screws on breakers and bus bars must be tightened to the manufacturer’s specified torque values. |
| Panel Labeling | Every circuit must be clearly and accurately identified on the panel directory. |
| Clearance | The required working space around the panel—at least 36 inches deep and 30 inches wide—must be kept clear. |
Passing this final check is the last major hurdle. If you’re feeling overwhelmed by the details or just want the peace of mind that it’s done right, bringing in a professional is the smartest move. You can always request service from our certified electricians to ensure your upgrade is completed safely and to code.
Scheduling the Inspection and Power Restoration
Once the work is double-checked, it’s time to schedule the final inspection with your local building department. The inspector will come out and review the installation, paying close attention to the items on the checklist above.
After getting the official sign-off—often a green sticker placed right on the panel—the last call is made to the utility company. They’ll send a technician to reinstall your electric meter and, finally, restore power to your home. With that, your panel upgrade is officially done, giving you safe and reliable power for years to come.
Common Questions About Electrical Panel Upgrades
When you’re thinking about an electrical panel upgrade, you’re bound to have questions. It’s a big job, and as electricians who spend our days in homes just like yours, we get asked the same things over and over. Getting straight answers is the first step to feeling confident about this important project.
Let’s cut through the jargon and talk about what this process really looks like, from the cost and timeline to the “why” behind it all.
What Does It Typically Cost to Upgrade an Electrical Panel?
The first question on everyone’s mind is always about the cost. It makes sense. For most homes, you can expect the price to land somewhere between $1,500 and $4,000.
That’s a pretty wide range, and for good reason. The final price tag depends on a few key things. For instance, jumping from an old 100-amp panel to a modern 200-amp one is a common upgrade, but it requires a bigger panel and much heavier wiring, which adds to the cost.
Sometimes the job is more complex than just swapping the box. If we have to replace the service mast on your roof or the meter base outside to meet current electrical codes, the scope of work—and the cost—will naturally increase. Every home’s setup is a little different, so the only way to get a solid number is to have a licensed electrician come out and give you a detailed quote.
How Long Does the Upgrade Process Take?
For the actual hands-on work, a standard panel replacement is usually a full-day affair. Plan on your electrician being there for about 8 to 10 hours. That’s the time it takes to coordinate the power shut-off with the utility company, carefully remove the old panel, install and wire the new one, and get all the new circuits labeled.
But the total project timeline is a bit longer. Before we can even touch the panel, we have to get a permit from your local building department, which can take anywhere from a few days to a few weeks. After the new panel is in, we then have to schedule a final inspection before the utility company gives the final green light to restore power permanently.
Is It Safe to Upgrade an Electrical Panel Myself?
We hear this a lot, and our answer is always an emphatic no. Upgrading an electrical panel yourself is incredibly dangerous and, in most places, illegal. This is one job that should never be on your DIY list.
The work requires handling the utility’s high-voltage service lines, which are live even when your main breaker is off. One slip-up can cause severe electrocution, a dangerous arc flash, or a house fire. That’s why nearly every municipality requires a licensed and insured electrician to pull the permit and perform the work. It’s a non-negotiable safety standard.
For your family’s safety, your homeowner’s insurance to remain valid, and your ability to legally sell your home down the road, you absolutely must hire a qualified professional. The risks of doing it yourself are just too great.
What Are the Warning Signs I Need a New Panel?
Your house will usually tell you when its electrical system is struggling. The most common sign? Breakers that trip all the time. If you can’t run the microwave and the toaster at the same time without a trip to the panel, that’s a classic sign of an overloaded system.
Keep an eye out for these other red flags:
- Flickering or Dimming Lights: This is especially telling if it happens when a big appliance, like your AC unit or refrigerator, kicks on.
- A Burning Smell or Crackling Sounds: If you smell or hear anything unusual from your panel, it’s an emergency. Shut off the main breaker if you can do so safely and call an electrician immediately.
- An Old Fuse Box: Still have a box with screw-in fuses? It’s long past time for an upgrade. Modern breaker panels are significantly safer and more convenient.
- Rust or Corrosion: Any moisture or rust on the panel is a serious hazard that means a replacement is needed right away.
And if you’re planning any big additions—like an EV charger, a hot tub, or central air—you’ll almost certainly need a panel upgrade to safely handle the new electrical load.
When you need an electrical panel upgrade that is safe, compliant, and built to last, trust the experts who are part of your community. Phase 3 Electric combines technical mastery with a genuine commitment to providing reliable, on-time service. We’re the local professionals who actually answer the phone. Ready to discuss your project? Get a transparent, no-hassle estimate by contacting us today.